
When you develop color block acetate frames, decide where each color should sit and how it should follow the frame shape. Then check how the material, edge shape, and finish affect the result.
The same dark brown and amber tones can create different looks along the brow, lower rim, or temples. For example, a thin line of amber may give the edge a subtle lift, while a wider band draws more attention.
A clear brief helps the frame maker understand the look you want and gives both sides a basis for sample review.
How Recent Collections Use Color
Recent Autumn/Winter 2026 collections show how brands use color to highlight different parts of a frame.
In its October 13 report on Ultra Limited, The Optical Journal describes layered acetate and contrasting inserts around the brow, lower rim, and outer edges. Each model uses color in a way that suits its shape. Read the report.
The journal’s October 16 report on TREE’s MARKS collection also highlights complex layers and a soft, muted palette. Read the report.
For a new design, first choose the part of the frame you want people to notice. Then plan the color around it and use a sample to check the effect.
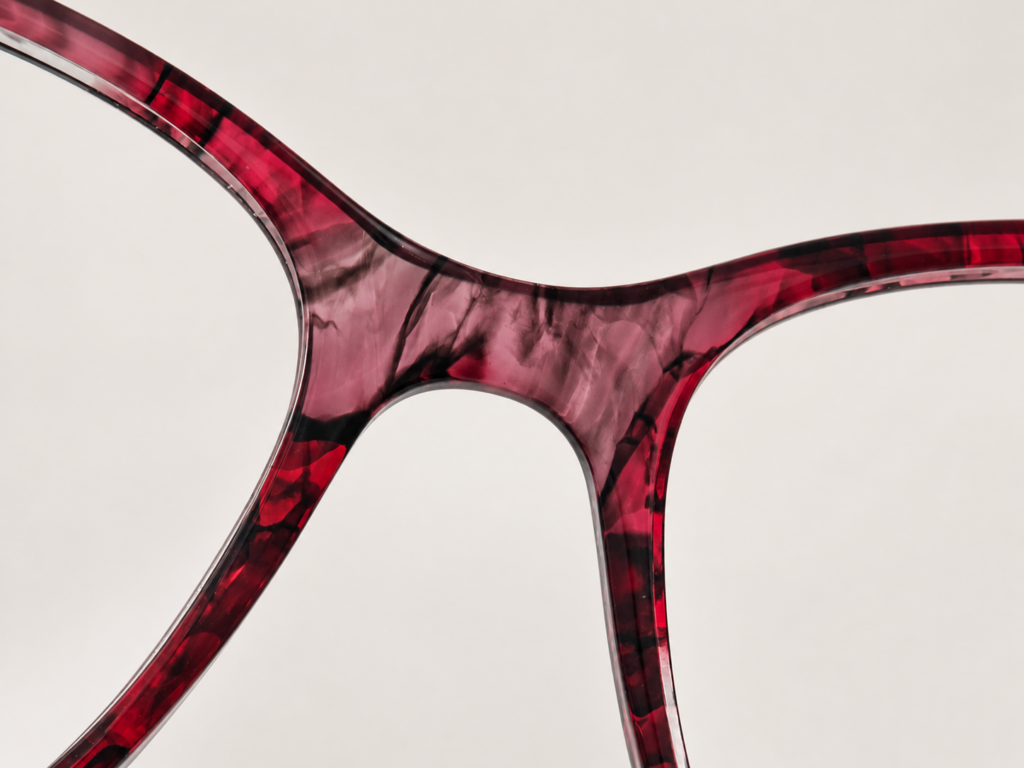
How Color Block Acetate Frames Are Made
A color-blocked design can use more than one method, so explain which part of the look matters most.
Laminated acetate uses layers joined together in a sheet. The order, thickness, and direction of the layers help shape the final look.
Joined acetate sections or inserts place a different color in a chosen part of the frame. These designs need clear details for the join, the shape of each part, and its position.
Patterned acetate may contain tortoiseshell effects, spots, or other color patterns. A patterned sheet can form part of the design without a join at every change in color.
These methods can also work together. Mazzucchelli explains that lamination can combine materials made through different processes in a new sheet. See the material guide.
When you share a reference image, point out the details you want to keep. For example, you may like the color split, the layers along an edge, or a small contrasting insert.
Show Color Placement on the Drawing
A brief such as “dark at the top and light below” gives a starting point. To guide sampling, add the color layout to front, side, and detail drawings.
Show:
- Where each color starts and ends.
- How much of each color should show from the front and side.
- How the left and right sides should match.
- Where the color should change along the temples.
For example, check where a two-tone split crosses the bridge and meets the outer corners. A change in that line can alter the look even when the colors stay the same.
If a position needs close control, add a size or clear mark to the drawing. Then ask the frame maker what range they can achieve before work starts.
Check Color on a Finished Frame
A swatch shows the material, while a finished sample shows how it works with the frame shape.
Cutting and beveling may reveal different layers. How much color appears depends on the layer thickness, its position, and the depth of the cut. Mazzucchelli advises checking both the surface and cross-section before work starts, so the maker can preserve the layers needed for the design. See the processing guide.
During sample review, look closely at three areas:
- Front rim: Check the width of the accent color and the balance between both sides.
- Outer corners: Follow the color as the frame turns from the front to the side.
- Frame and temple joins: Check how the colors meet with the temples open and folded.
Also check the surface finish at this stage. If the thickness, bevel, or finish changes later, review the parts of the color layout that may change with it.
Review the Whole Frame and the Small Details
First, look at the whole frame to judge the balance of the main and accent colors. Then check how the front and temples work together.
For closer checks, use the same light and background so you can compare samples more fairly.
Look for:
- Color boundaries that match the drawing.
- Cracks, lifted edges, or gaps around joins.
- Rough or raised edges where parts meet.
- Uneven gloss or clear tool marks.
- Details that sit as planned when the temples open and fold.
If you find a concern, mark its exact location and ask the maker to explain the cause and proposed fix.
A neat-looking join does not show how well it will hold up over time. For this reason, also agree on how to check bond strength and durability, and what results the sample must meet.
Agree on How Much the Pattern May Vary
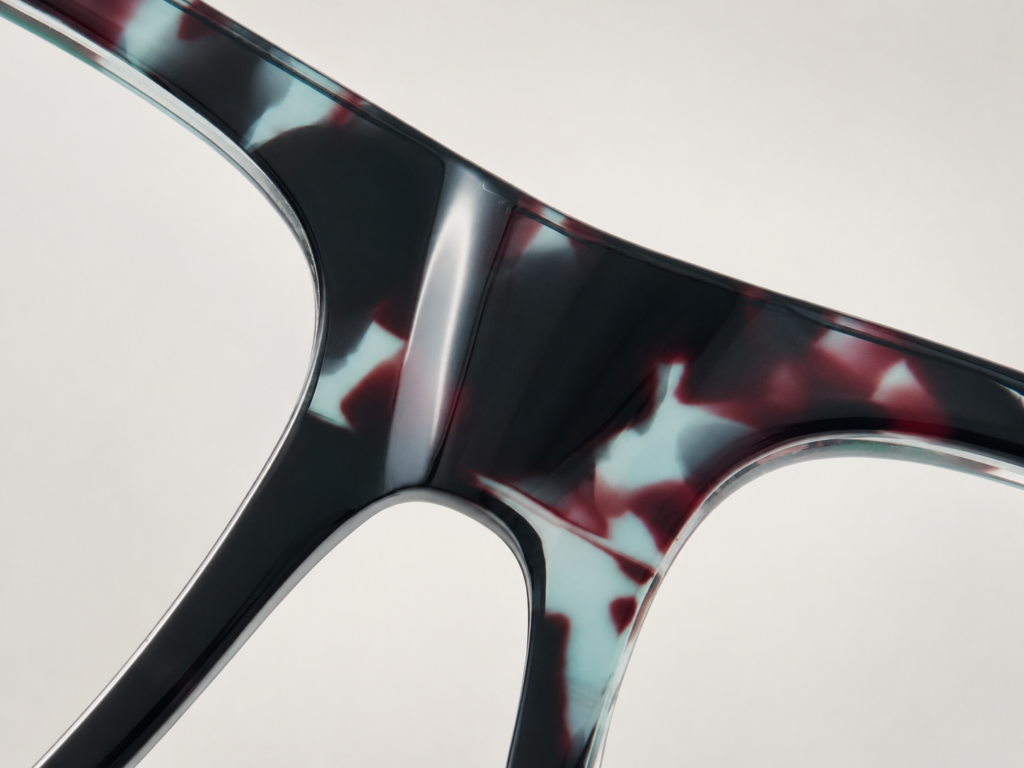
With random patterns, the look can change depending on where each part comes from in the sheet. Therefore, agree on which color features must stay fixed and which may vary.
For example, you may want a dark brown frame with a similar share of light patches across the range. Small spots could still appear in different places.
However, if a light patch must sit on the brow or outer corner, mark that as a firm design requirement. Ask the maker how the choice of sheet and the cutting layout can support it.
Use real samples to agree on:
- The main color tone and see-through effect.
- The size and spacing of the pattern.
- The rough balance of light and dark areas.
- How much the two sides may differ.
If the pattern varies widely, ask for several samples to show the range. This gives both sides a clearer view of what you will accept.
Keep cracks, separated layers, and colors outside the agreed range under separate quality checks.
Use the Same Details for Quotes and Production
Before you compare quotes for color block acetate frames, give each supplier the same design and material details.
Confirm whether the design uses an existing sheet or needs a custom color mix. Also list any inserts, joined sections, or different materials for the front and temples.
Once these details are clear, compare the order size per model and color, material order limits, sample fees, and the changes each quote covers. Ask when the lead time starts and what must be ready first.
Before production, keep a shared record of:
- Materials: Supplier, material code, color, and layer details where needed.
- Drawings: Color lines, key sizes, frame thickness, and edge shape.
- Samples: The sample used to approve color, fit, build, and finish.
- Appearance: The agreed range for patterns and other visual details.
- Checks: The size, assembly, appearance, and durability requirements.
- Versions: Sample numbers, approval dates, and the latest changes.
If the maker changes the material, layers, or process after approval, review the affected parts again.
For your next project, prepare the frame drawing, color references, key positions, and planned quantities. Use these alongside physical samples to agree on the look and the details needed for production.