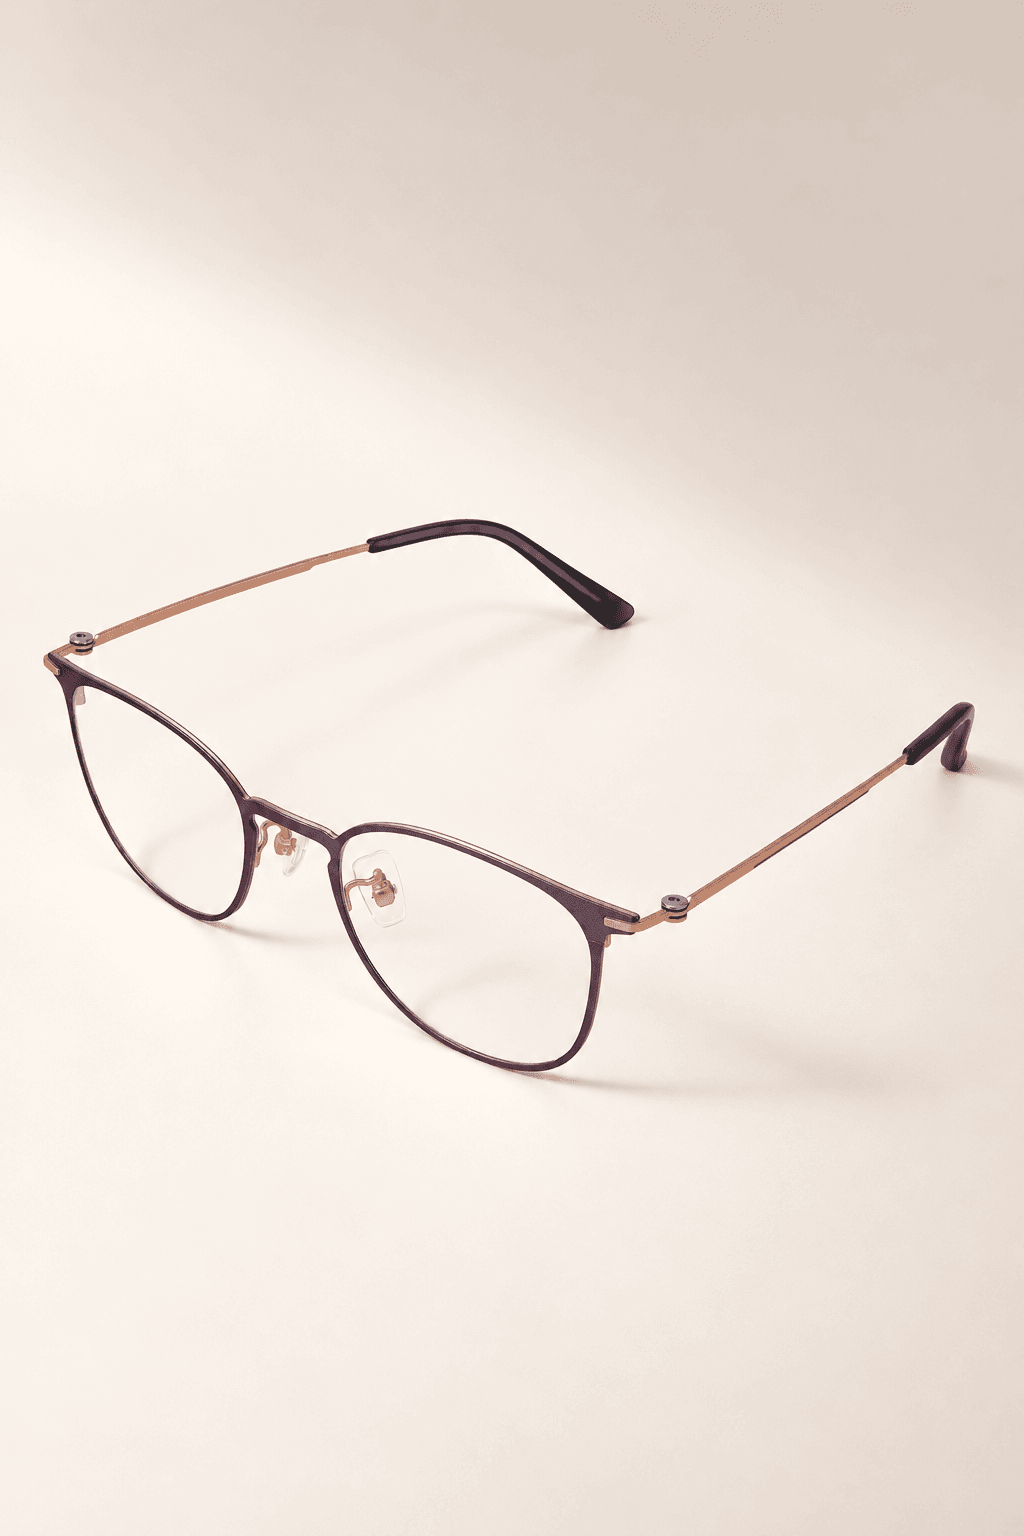
Eyeglass frames for narrow faces need more than a smaller lens size. Check the front width, bridge fit, temple spacing, and shape together. Then use real samples to see how these parts work on the face.
On October 26, 2026, Vision Monday reported that Altair had added three styles to the Joseph Abboud Narrow-Fit Collection. The range serves men who need slimmer frame proportions. It first launched in fall 2025. Read the report.
This gives brands a useful starting point: plan a collection around a clear fit need.
Start with a Clear Fit Problem
“The frame is too wide” can mean more than one thing. The front may extend too far past the face. The temples may sit too far apart. Or the bridge may allow the frame to slip, even when the front width looks right.
Ask the target wearer to point out the problem. Also note which parts of the original design should stay.
Specsavers lists smaller-fit and lower-bridge-fit frames as separate options. These choices address different fit needs. See the fit guide.
Clear fit notes help the manufacturer plan the first sample.
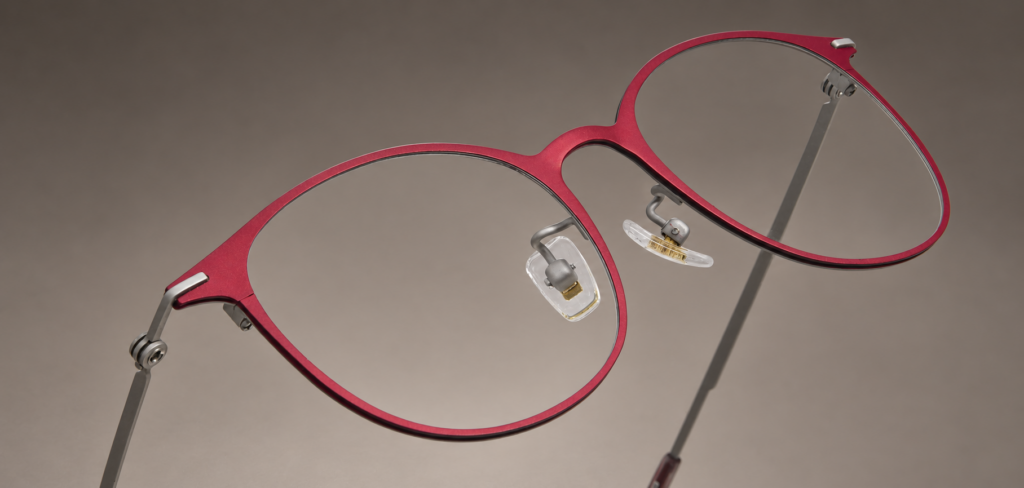
How to Size Eyeglass Frames for Narrow Faces
A marking such as 49□18–140 usually shows three sizes:
| Marking | What it means |
|---|---|
| 49 | Horizontal lens size, in millimeters |
| 18 | Nominal bridge size, in millimeters |
| 140 | Nominal temple length, in millimeters |
This is an example, not a size recommendation for all narrow faces.
The total front width is a separate measurement. Rim thickness and the parts that extend toward the hinges also affect it. Two frames can share the same lens and bridge markings but have different total widths. See the measurement guide.
When you develop eyeglass frames for narrow faces, record the total front width on the drawing. Agree on where and how to measure it. Mark any internal spacing you need to control as well.
This gives both sides a clear reference when checking samples.
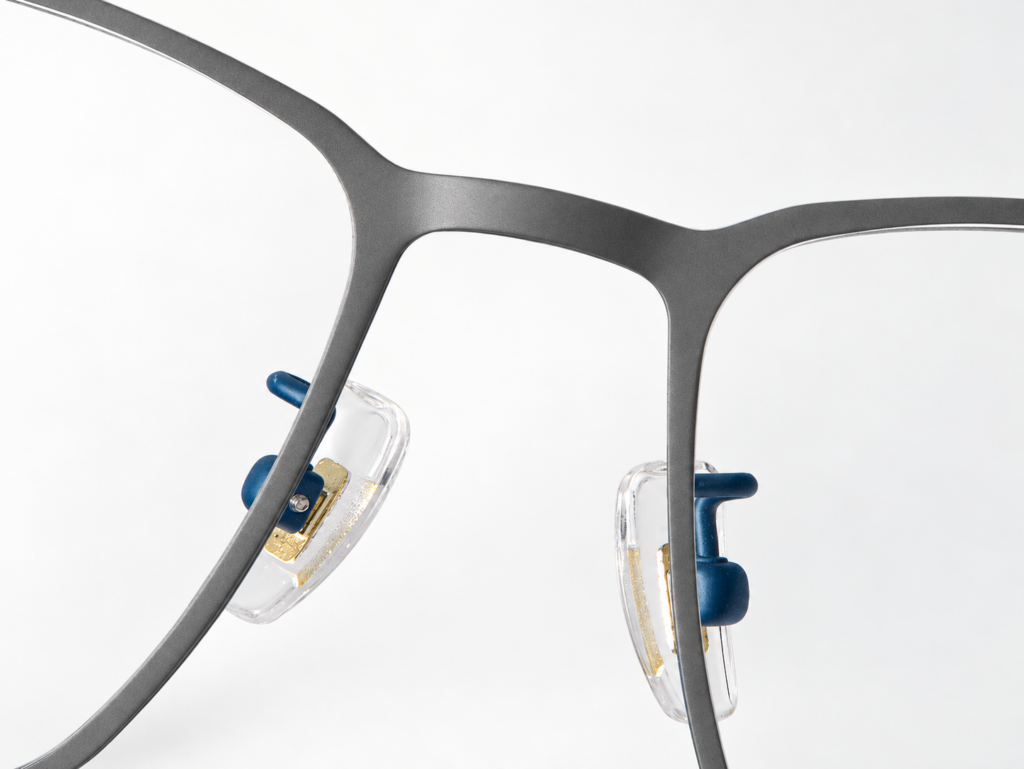
Check the Bridge on Its Own
Face width alone does not tell you which bridge shape or nose-pad setup will fit.
The marked bridge size does not fully describe how the frame rests on the nose. The shape and position of the bridge matter too. Read about bridge fit.
For an acetate frame with a fixed bridge, check where it touches the nose. Note whether it rests well or presses hard in one spot.
For frames with nose pads, check their starting position, angle, and range of adjustment.
If the front width looks right but the frame still slips, check the bridge and temples before making the front smaller.
Review Temple Spacing, Length, and Bends
A narrow face does not always call for shorter temples. The temples must also follow the sides of the head and reach the ears.
Check the space between the temples, their length, and the point where they bend. Note any pressure at the sides of the head or behind the ears.
ZEISS stresses the need for a comfortable fit at these contact points. See the fitting guidance.
Keep a record of each sample before and after adjustment. If the fit improves, these notes help show which change made the difference.
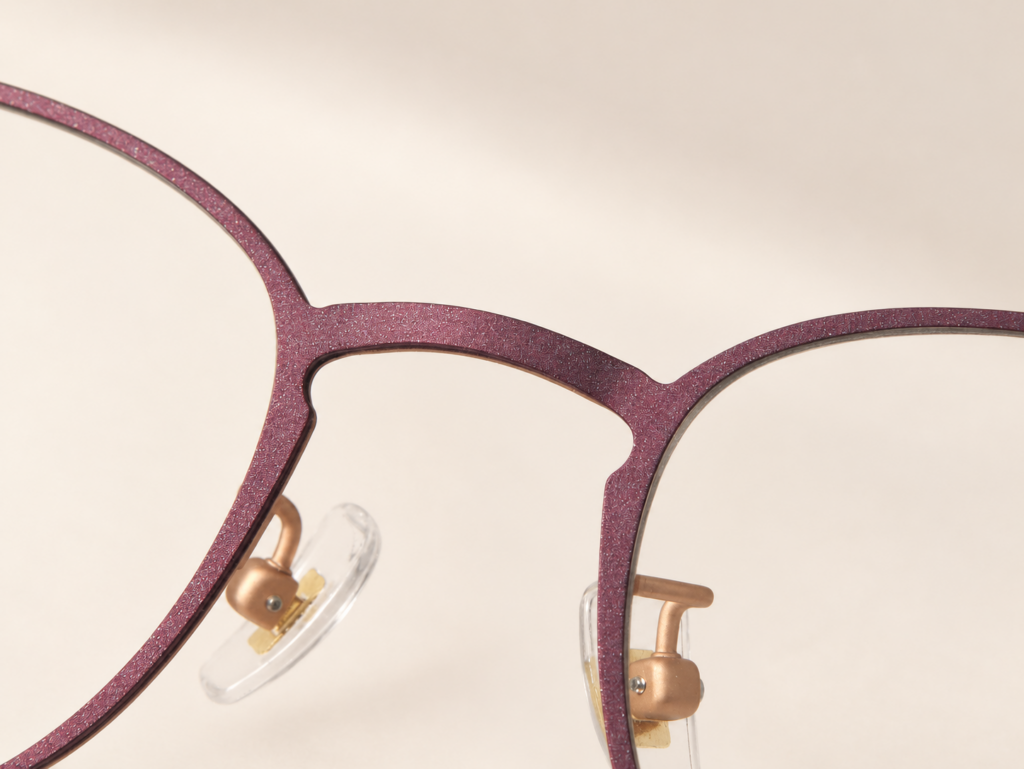
Keep the Design and Parts in Balance
Decide which features define the original style before you make a narrow-fit version.
A smaller front may change how wide temples, endpieces, and trim look. Review them together so the revised frame keeps the intended style.
Also check whether the original hinges, screws, temple cores, and lens-mounting details still suit the new shape. Confirm which parts can stay and which need changes.
For prescription frames, state the planned lens use early. The Vision Council’s dispensing guide considers lens choice, frame size, and fit together. Read the guide.
Include these needs in the brief before you approve the final sample.
Test Samples with Target Wearers
Photos help you compare shapes, but they do not show the full fit. Use measurements, front and side views, and real wear trials.
Try to include several wearers from the target customer group. Record each person’s feedback instead of relying on one person’s result.
Use this checklist to keep reviews clear:
| Check | What to look for | What to record |
|---|---|---|
| Front width | Width and shape on the face | Size and front-view photos |
| Bridge or nose pads | Contact, pressure, and slipping | Close-up photos and fit notes |
| Temple spacing | Sides that feel too loose or tight | Spacing at agreed points |
| Temple length and bends | Contact around and behind the ears | Side views and adjustment notes |
| Normal movement | Shifting when looking down, turning, or speaking | The action and what happens |
| Frame with lenses fitted | Fit with the planned lens setup | Lens details, weight, and wearer feedback |
Use the checklist to guide development. Agree on the project’s sizes, tolerances, and acceptance criteria with the manufacturer.
Turn Feedback into Clear Changes
Replace broad comments such as “make it smaller” with notes that name the problem.
For example:
“The front width looks right, but the temples sit too far apart.”
Or:
“The bridge rests well, but the temple bend needs to move.”
Keep the parts that fit well. Change the parts that still need work. This makes each round of samples easier to compare.
Once you approve the sample, save the drawing, key sizes, measurement methods, parts list, and adjustment notes. Agree on the production checks that will use this sample as the reference.
For brands planning eyeglass frames for narrow faces, a clear brief is a useful first step. Bring a reference frame, notes from target wearers, and the design features you want to keep. These give the team a practical basis for the first sample and each later change.